Contents
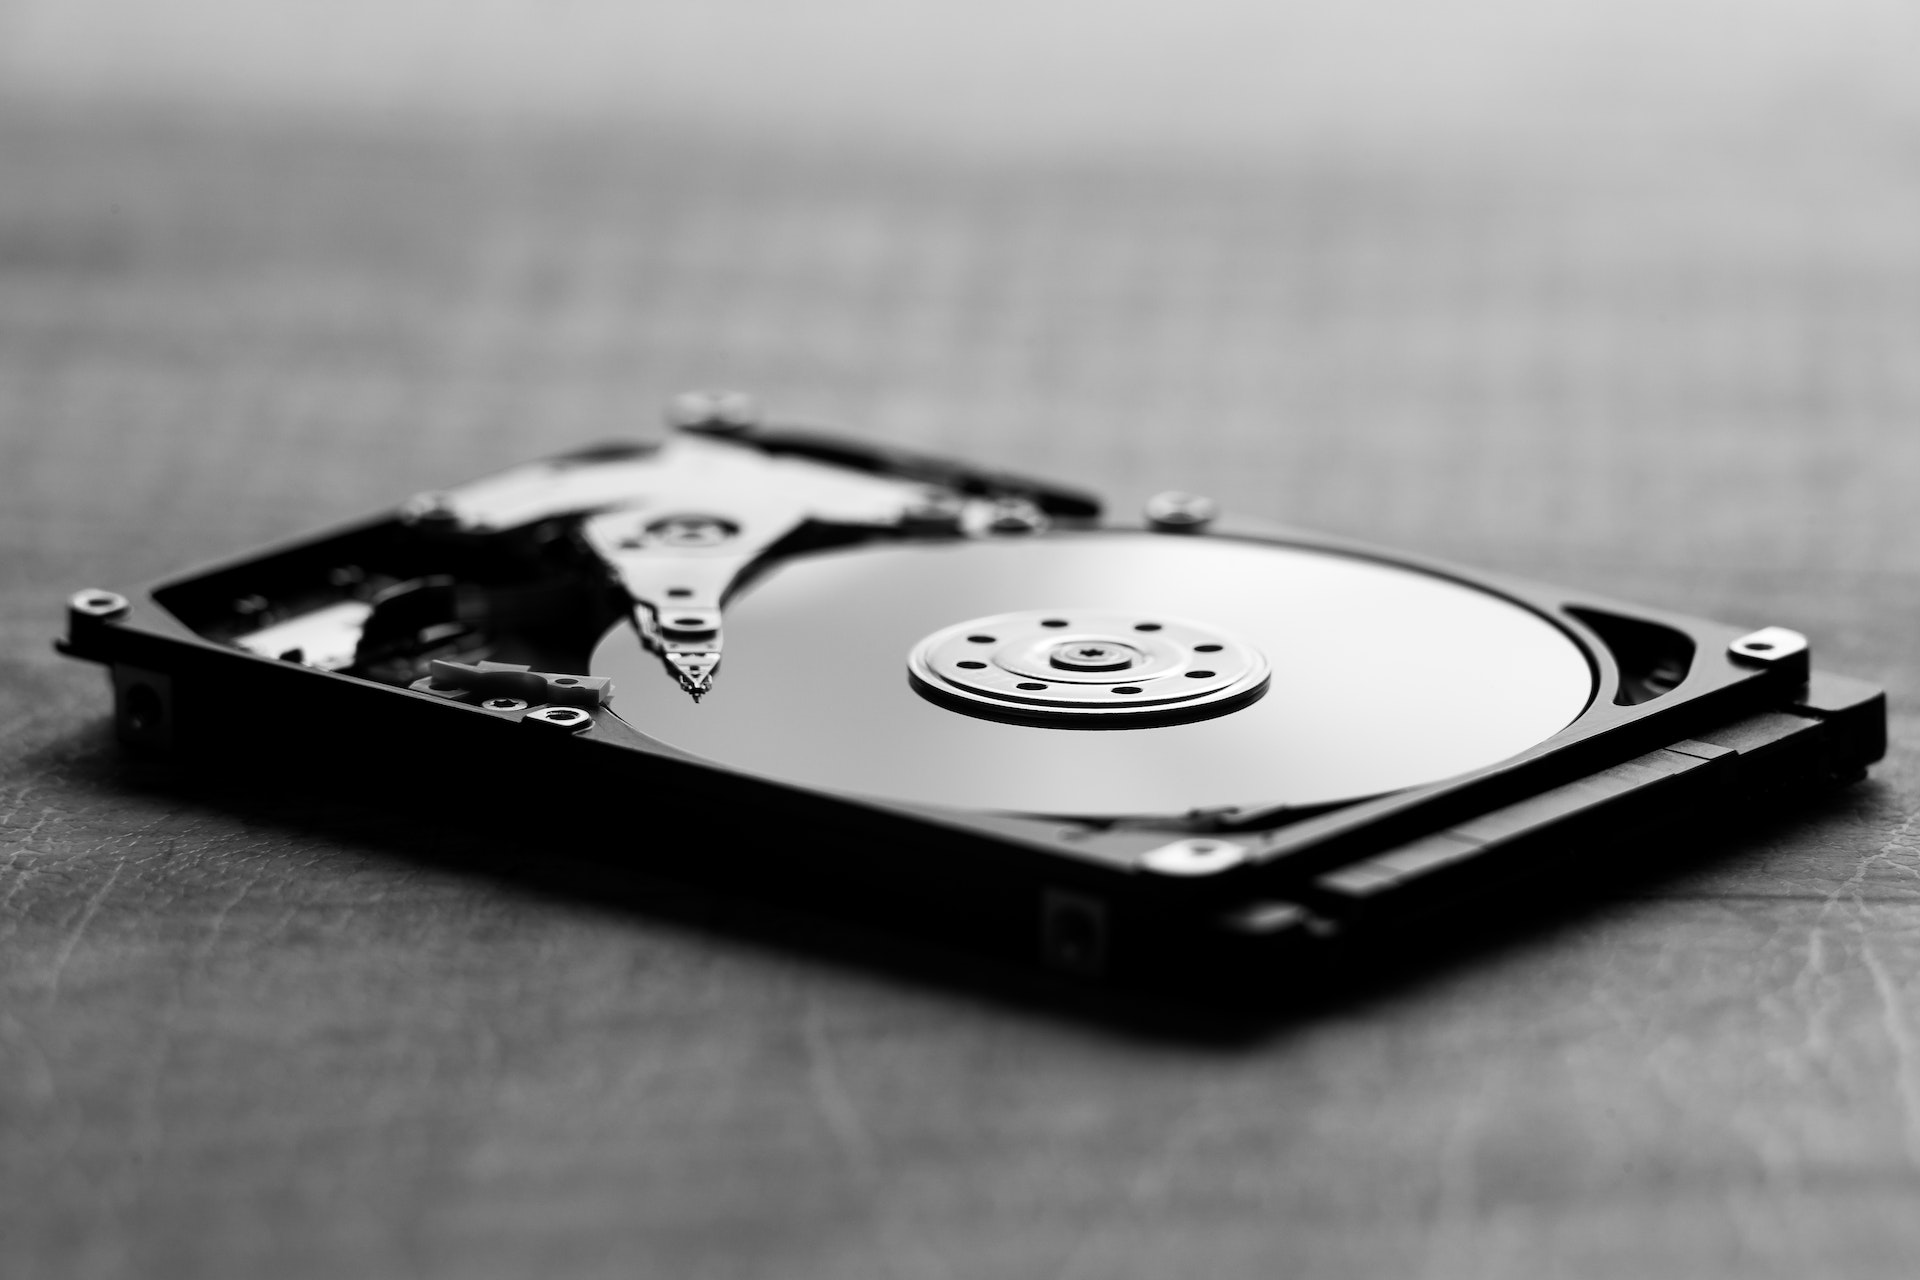
How to Test a Hard Drive Without a Computer?
In today’s digital age, our lives are intertwined with technology like never before. From work documents and family photos to entire movie collections, everything seems to reside on our trusty hard drives. But what happens when those drives start malfunctioning? The thought alone can send shivers down any tech-savvy person’s spine. However, fret not! In this article, we will uncover the unexpected methods of testing a hard drive without relying on a traditional computer setup. So whether you’re stranded on a deserted island or simply curious about alternative techniques, get ready to embark on an exciting journey into the world of hard drive troubleshooting – minus the computer!
How to Test a Hard Drive Without a Computer?
Are you tired of relying solely on your computer to diagnose issues with your hard drive? Whether you’re a tech enthusiast or just looking to troubleshoot a faulty device, this article will guide you through the process of testing a hard drive without the need for a computer. Imagine being able to assess the health and functionality of your storage device without having to power up your PC or Mac. In this comprehensive guide, we’ll explore various innovative methods and tools that allow you to put your hard drive through its paces, all while thinking outside the box.
Tools for Testing a Hard Drive Without a Computer
External Hard Drive Dock
One of the most versatile tools for testing a hard drive without a computer is an external hard drive dock. These docks allow you to connect the hard drive externally, just like plugging in a USB drive. They’re compatible with various hard drive types and come with easy setup instructions. Simply slide your hard drive into the dock, plug it into a power source, and connect it to a display device like a TV or monitor. This method is efficient and user-friendly.
USB to SATA/IDE Adapter
Another handy tool is a USB to SATA/IDE adapter. These adapters let you connect the hard drive to other devices via USB. While not as versatile as an external dock, they are compact and budget-friendly. Simply attach the adapter to your hard drive, plug it into a compatible device, and power it up. This method works well for basic tests and data retrieval.
Standalone Hard Drive Tester
For those looking for a dedicated solution, standalone hard drive testers are designed specifically for this purpose. These testers usually feature a small display screen and built-in diagnostics tools. They’re straightforward to use—connect the hard drive and follow the on-screen instructions. Standalone testers are a reliable option for in-depth testing, especially if you frequently deal with hard drives.
Steps to Test a Hard Drive Without a Computer
Preparing the Hard Drive
Before testing your hard drive, ensure you’ve removed it from the computer properly. Handle it with care to prevent static electricity damage. Place it on an anti-static surface and ground yourself to discharge any static electricity.
Connection and Power
Once your hard drive is prepared, connect it to the chosen tool. Ensure it’s securely attached. Next, power on the device, whether it’s the external dock, USB adapter, or standalone tester. You should see the hard drive initializing.
Running Diagnostic Tests
Now, it’s time to run diagnostic tests on the hard drive. These tests check various parameters like SMART data and perform surface scans. The results will provide insights into the drive’s health. If you notice any errors or critical warnings, consider backing up your data immediately and consulting a professional for further assistance.
Backup and Data Recovery
Before testing, it’s essential to emphasize the importance of data backup. In case you encounter severe issues during testing, having a recent backup ensures your data’s safety. If issues are detected, explore data recovery options. Some tools, like standalone testers, may offer data recovery features. Alternatively, consult a data recovery specialist for more complex cases.
Troubleshooting Common Issues
Even with the best preparation, issues can still arise during the testing process. Here’s a troubleshooting guide for common problems:
Drive Not Recognized: If the tool doesn’t recognize your hard drive, double-check the connections. Ensure the drive is securely attached, and the power source is working.
Slow Performance: If the testing process seems sluggish, it could be due to a failing hard drive. Be prepared for potential data loss.
Errors During Testing: If you encounter errors or warnings during diagnostic tests, consult the tool’s manual or online resources for guidance on interpreting these messages. It’s essential to understand the severity of the issue.
Data Recovery Failures: If data recovery attempts fail, do not panic. Seek professional help from data recovery specialists who have the expertise and specialized tools to recover data from damaged drives. DIY data recovery attempts can often make matters worse.
Noisy Hard Drive: If the hard drive makes unusual noises during testing, such as clicking, grinding, or whirring, it’s a sign of mechanical failure. Immediately power down the device and seek professional assistance to prevent further damage.
Data Corruption: If you notice data corruption during testing, it could indicate a failing drive. Attempt to salvage important files immediately using data recovery software or services.
Scan and Repair Drive Windows 10
In Windows 10, the “Scan and Repair Drive” feature is a valuable tool for detecting and fixing file system issues on your hard drive. To access it, follow these steps: First, open File Explorer and right-click on the drive you want to scan. Next, select “Properties” and navigate to the “Tools” tab. Under the “Error checking” section, click on “Check.” This initiates a scan to identify and repair errors on the drive. Windows will attempt to fix any found problems during the scan. If your hard drive has minor issues like file system errors or bad sectors, this tool can often resolve them. However, for more serious hardware problems, it’s crucial to be aware of signs of hard drive failure.
Signs of Hard Drive Failure Windows 10
Detecting signs of hard drive failure in Windows 10 is vital to prevent data loss and system crashes. Some common indicators include frequent system crashes or freezes, slow and erratic performance, unusual noises emanating from the drive (like clicking or grinding), and error messages during boot-up or file access. Additionally, files and folders may become corrupted, and you might encounter the dreaded “blue screen of death.” Regularly backing up your data and running diagnostic tests can help catch issues before they escalate.
How Will You Know Surely That the Hard Drive Has Failed?
When it comes to determining whether your hard drive has indeed failed, there are unmistakable signs. The most definitive sign is the drive becoming completely unresponsive, with the computer unable to detect it at all. Another clear indicator is a series of loud and persistent clicking or grinding noises coming from the drive. If you’ve tried various computers and connections without success, it’s likely a hardware failure. Additionally, if diagnostic tools consistently report severe issues like multiple bad sectors or an imminent drive failure warning, it’s a clear sign. In such cases, it’s essential to consult a professional data recovery service and replace the faulty drive to avoid permanent data loss.
Conclusion
Testing a hard drive without a computer may seem daunting at first, but with the right tools and knowledge, it’s a manageable task. Regular testing ensures that your data remains safe and your hard drive stays healthy. Whether you opt for an external dock, USB adapter, or standalone tester, each method has its advantages. Remember to handle your hard drive with care, back up your data before testing, and seek professional help when necessary. With these precautions in place, you can confidently safeguard your digital life and enjoy peace of mind. Start testing your hard drive today, and stay ahead of potential issues before they become catastrophic.