Contents
How to Safely Eject External Hard Drive in Windows 10: A Comprehensive Guide
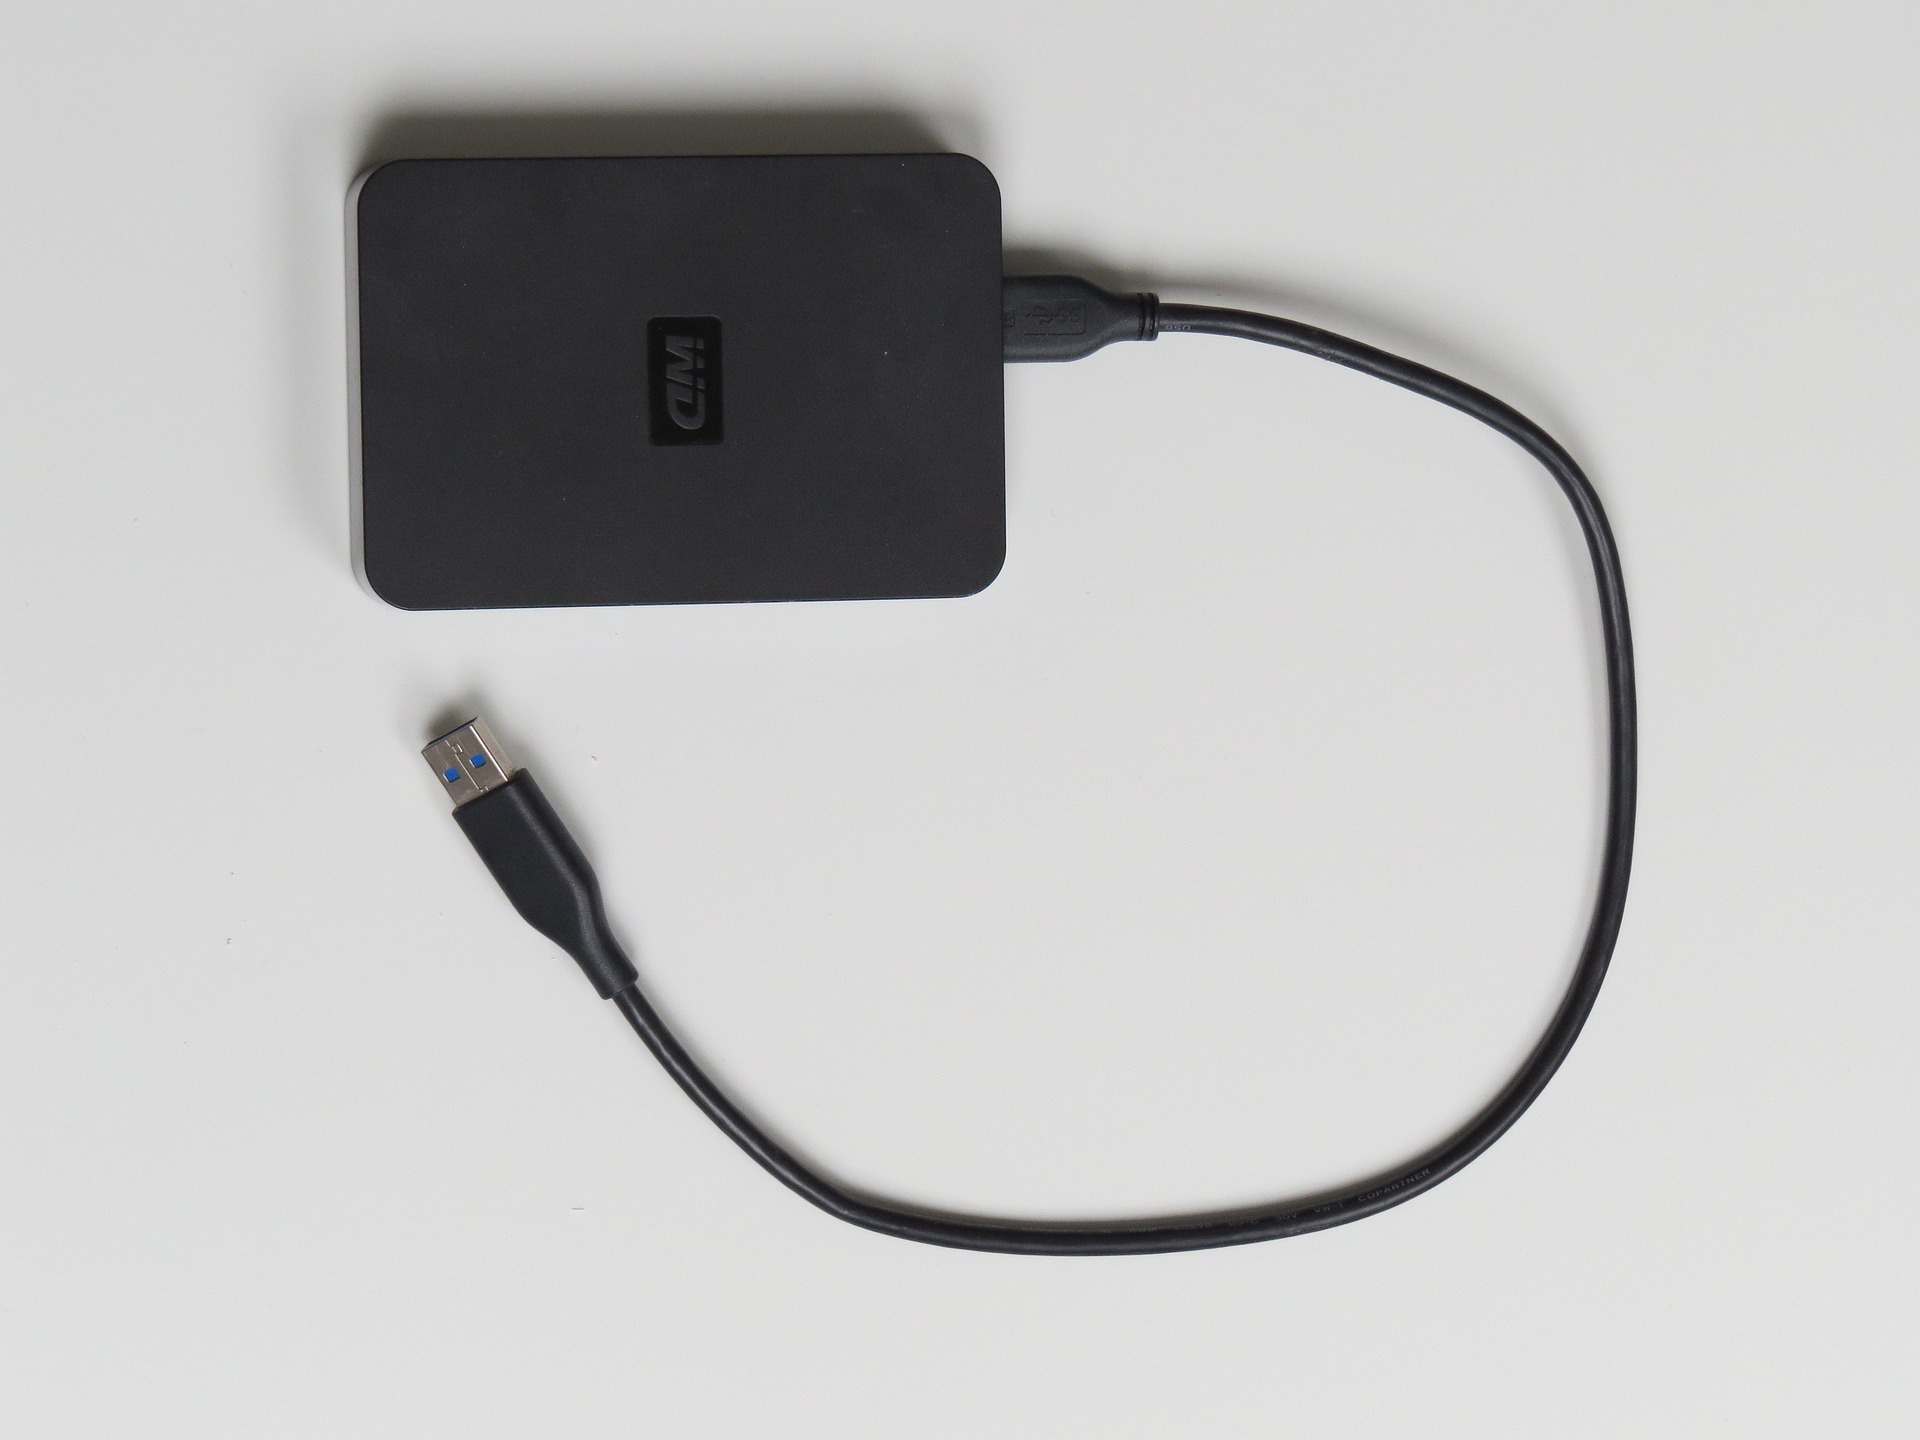
Are you tired of the constant fear of losing your valuable data due to improper ejection of your external hard drive? In this article, we will guide you through the step-by-step process of safely ejecting your external hard drive in Windows 10. Whether you’re a tech-savvy individual or a beginner in the world of technology, our easy-to-follow instructions will ensure that you never have to sweat over disconnecting your device again. So, grab a cup of coffee and get ready to become a master at safely removing external hard drives from your Windows 10 computer!
How to Eject External Hard Drive in Windows 10?
Have you ever wondered why safely ejecting your external hard drive is so important? Well, the answer lies in data integrity. When you disconnect a drive without proper ejection, you risk corrupting files and damaging the drive itself. Windows 10 manages external devices in a way that ensures data is written completely before disconnecting, making safe ejection paramount to preserving your data’s integrity.
Using the System Tray Icon
One of the simplest ways to eject an external hard drive is through the system tray icon. Locate the small USB icon in the system tray (usually at the bottom right of your screen). Click on it, and you’ll see a list of connected devices. Find your external hard drive, right-click on it, and select “Eject.” This action ensures that all read and write operations are completed before the drive is disconnected.
Using File Explorer
If you prefer using File Explorer, follow these steps to safely eject your external hard drive. Open File Explorer and navigate to “This PC.” You’ll see a list of drives, including your external one. Right-click on it and choose “Eject.” It’s that simple. This method provides a visual confirmation that your drive is safe to unplug.
Keyboard Shortcut
For keyboard enthusiasts, there’s a handy shortcut to eject your external hard drive quickly. Press “Win + E” to open File Explorer, locate your drive, press “Alt + S,” and the drive will be safely ejected. You can even create a desktop shortcut for this if you find yourself doing it frequently.
Troubleshooting Ejection Issues
The Drive is in Use
Sometimes, Windows may report that the drive is still in use when you try to eject it. To resolve this, ensure all files and applications using the drive are closed. If the problem persists, consider using the “Scan and Repair” option, which can fix any file system issues causing the hang-up.
The Eject Option is Grayed Out
If the “Eject” option is grayed out in File Explorer, there are a few things you can check. Make sure no files or applications are actively using the drive. If the issue persists, try updating your device drivers, as outdated drivers can cause ejection problems. You can usually update drivers via the Device Manager.
Best Practices for External Hard Drive Care
Regular Backups
While safely ejecting your external hard drive is crucial, it’s equally important to maintain regular backups of your data. Windows 10 offers built-in backup tools, or you can opt for third-party solutions. Additionally, consider cloud storage for added data security.
Proper Storage
To extend the life of your external hard drive, store it properly. Avoid exposing it to extreme temperatures or humidity. Consider using protective cases or sleeves when transporting it. Proper storage can significantly impact the drive’s longevity.
How to Remove Partition on External Hard Drive in Windows 10?
Partition removal on an external hard drive in Windows 10 can be a useful task if you need to reorganize your storage space or want to merge partitions for better efficiency. Here’s a step-by-step guide to help you achieve this:
- Backup Your Data: Before making any changes, it’s crucial to back up all the data on the partition you intend to remove to prevent data loss.
- Open Disk Management: Press Win + X and select “Disk Management.” Here, you’ll see a list of all connected drives and their partitions.
- Select the artition: Locate the partition you want to remove, right-click on it, and choose “Delete Volume.” Confirm the action when prompted.
- Extend Adjacent Partition (Optional): If you wish to merge the newly freed space with an adjacent partition, right-click on that partition and select “Extend Volume.” Follow the wizard to complete the process.
- Format (Optional): If you want to reuse the space for a different purpose, you can format it by right-clicking on the unallocated space and selecting “New Simple Volume.” Follow the wizard to format and allocate a drive letter.
- Data Verification: After performing these actions, double-check your data backups and ensure everything is intact.
Remember that removing a partition will delete all data stored on it, so exercise caution.
No Option to Eject External Hard Drive in Windows 10
Safely ejecting an external hard drive is essential to prevent data corruption and hardware damage. However, in some cases, Windows 10 may not display the “Eject” option. Here are some solutions:
- Use the Notification Area: Sometimes, the “Eject” option is available in the notification area on the taskbar. Click the arrow icon to expand the hidden icons, locate your external drive, and click “Eject.”
- Close Open Files/Apps: Windows may block ejection if any files or applications on the drive are in use. Close all open files and applications associated with the external drive and try ejecting again.
- Disk Management: In Disk Management, right-click on the external drive and select “Offline.” This can release the drive and make it ejectable.
- Third-Party Eject Software: Consider using third-party software like “USB Safely Remove” or “EjectUSB” if the built-in Windows feature isn’t working correctly.
- Update USB Controller Drivers: Outdated or corrupted USB controller drivers can cause eject issues. Go to Device Manager, expand “Universal Serial Bus controllers,” right-click on the USB controllers, and select “Update driver.”
- Restart Windows: Sometimes, a simple restart can resolve the issue by releasing any locked resources associated with the external drive.
It’s crucial to safely eject external drives to prevent data loss and hardware problems. If these solutions don’t work, consult your drive manufacturer’s support or consider seeking professional assistance.
Conclusion
In conclusion, safely ejecting an external hard drive in Windows 10 is essential to prevent data corruption and ensure the longevity of your device. By following the simple steps outlined above, you can confidently eject your external hard drive without any risk. Remember to always check for any active file transfers or applications using the drive before ejecting it. Taking the extra time to properly eject your external hard drive will save you from potential data loss and frustration down the line. So, next time you’re finished using your external hard drive, be sure to follow these steps and safely remove it from your Windows 10 system.