Contents
How to Open External Hard Drive on Mac: A Step-by-Step Guide
In today’s digital world, the need for extra storage is ever-present, especially for Mac users who often work with large files. External hard drives come to the rescue, providing additional space and portability. In this comprehensive guide, we’ll walk you through the process of opening an external hard drive on your Mac. Whether you’re a creative professional managing tons of media files or a casual user looking to back up important data, this guide will ensure you make the most of your external storage.
How to Open External Hard Drive on Mac?
External hard drives, also known as portable hard drives, are compact storage devices that connect to your Mac, expanding your storage capacity beyond what’s built into your computer. They are available in various capacities, from a few hundred gigabytes to multiple terabytes, making them versatile for different needs. These drives serve several purposes on a Mac, including data backup, file transfer, and additional storage for media libraries, documents, and more.
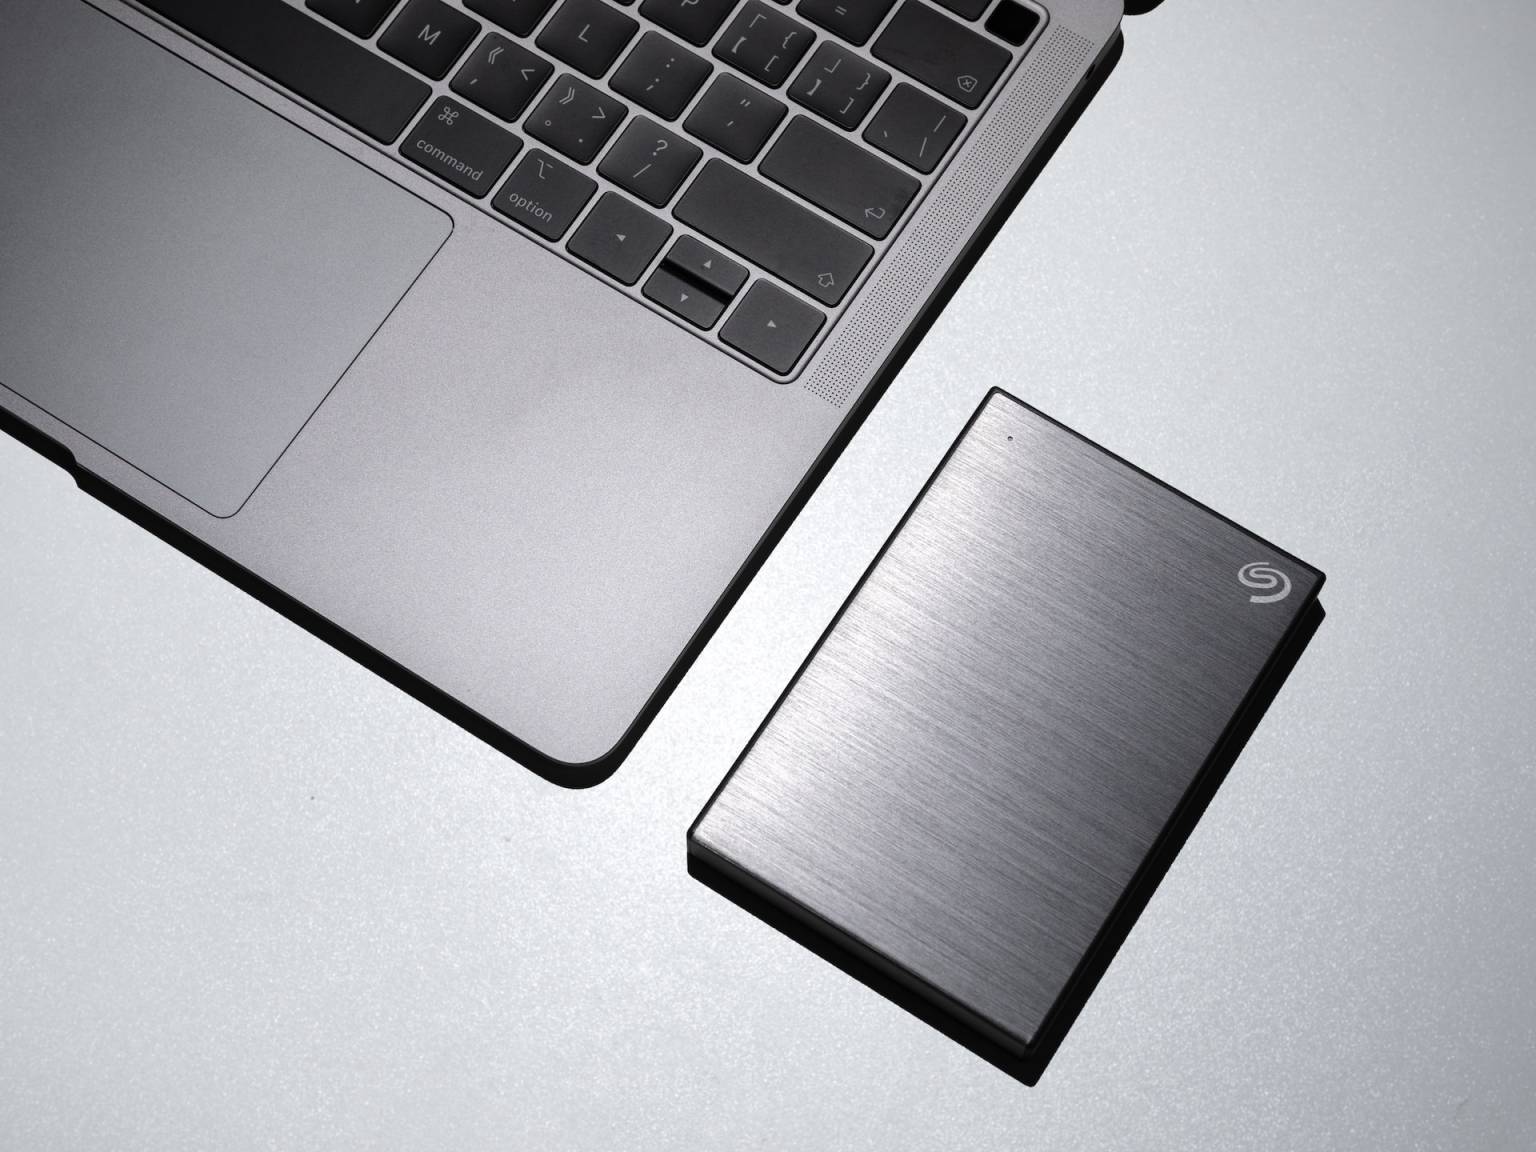
Connecting the External Hard Drive
Connecting an external hard drive to your Mac is the first step in accessing its contents. Here’s how to do it:
- Select the Right Cable: Depending on your external hard drive’s connection options (USB, Thunderbolt, etc.), choose the appropriate cable.
- Plug It In: Connect one end of the cable to your external hard drive and the other end to an available port on your Mac. Make sure both connections are secure.
- Power On: If your external drive has a separate power source, ensure it’s turned on.
- Wait for Recognition: Your Mac should recognize the external hard drive automatically. You might hear a chime or see an icon appear on your desktop.
Troubleshooting Tip: If your Mac doesn’t recognize the external hard drive, try a different cable or port, and make sure the drive is powered on. Sometimes, a simple reconnection resolves the issue.
Recognizing the External Hard Drive
Once you’ve connected the external hard drive, your Mac should identify it swiftly. Here’s how to locate it:
- Finder Sidebar: Open a Finder window, and on the left-hand sidebar, under “Devices,” you should see your external hard drive listed. Click on it to access its contents.
- Desktop Icon: Often, an icon representing the external hard drive will appear directly on your desktop. You can double-click this icon to open the drive.
Troubleshooting Tip: If you don’t see the drive in either location, go to the “Finder” menu and select “Preferences.” In the “General” tab, make sure the “External disks” option is checked.
Once you’ve successfully recognized the external hard drive, it’s time to explore its contents:
- Folders and Files: Inside the external hard drive, you’ll typically find folders and files organized in a manner similar to your Mac’s internal storage. You can navigate through these folders by clicking on them.
- Finder View Options: Use the “View” options in Finder to change how you see the contents. You can switch between icon, list, column, or gallery views, depending on your preference.
- Searching: If you’re looking for a specific file or folder, use the search bar in the top-right corner of the Finder window. Simply type in the name of what you’re searching for, and Finder will display matching results.
Transferring Files to/from the External Hard Drive
Transferring files between your Mac and the external hard drive is a fundamental task. Here’s how to do it:
- Copying Files to the External Drive: To copy files from your Mac to the external hard drive, simply drag and drop them from your Mac’s storage to the external drive’s folder in Finder. Alternatively, you can right-click the file, select “Copy,” go to the external drive, right-click, and select “Paste.”
- Transferring Files to Your Mac: To transfer files from the external drive to your Mac, use the same drag-and-drop method or right-click and copy-paste. Ensure compatibility with file formats between the Mac and the external drive.
File Format Tip: To ensure seamless compatibility between Mac and external drives, consider formatting the drive as ExFAT, a file system that works well with both macOS and Windows.
Safely Ejecting the External Hard Drive
Before physically disconnecting the external hard drive from your Mac, it’s crucial to eject it safely to prevent data corruption. Here’s how:
- Finder Eject: In the Finder sidebar, locate your external hard drive. Right-click on it and select “Eject.” This action ensures that all ongoing read/write processes are completed before ejection.
- Desktop Eject: If you have the external drive icon on your desktop, you can also safely eject it by dragging it to the Trash or by right-clicking and selecting “Eject.”
Consequences of Skipping Ejection: Failing to eject the external drive properly can lead to data loss or drive corruption, so always make it a habit to eject it before unplugging.
Best Practices and Tips
To get the most out of your external hard drive on your Mac, consider these best practices:
- Organize Your Files: Create a logical folder structure on your external drive to keep your files organized and easy to find.
- Data Encryption: For added security, you can encrypt sensitive data on your external drive using macOS’s built-in encryption features.
- Backup Your Mac: Use your external drive for Time Machine backups, ensuring your data is safe and recoverable in case of a system failure.
- nce: Periodically check and maintain your external drive, including keeping it physically clean and ensuring it’s stored in a safe, cool, and dry place.
Troubleshooting Common Issues
While using external hard drives on a Mac is generally trouble-free, you might encounter some common issues. Here are solutions to a few of them:
- Drive Not Recognized: If your Mac doesn’t recognize the external hard drive, try different cables or ports. Ensure the drive is powered on and check Finder preferences.
- Slow Data Transfer: Slow transfer speeds can occur due to various factors. Ensure you’re using a compatible cable and port, and consider updating your Mac’s operating system and the drive’s firmware.
- File Format Compatibility: If you’re experiencing issues with file formats, consider using ExFAT format for your external drive, which is compatible with both macOS and Windows.
How to Use External Hard Drive on Mac as Main?
Using an external hard drive as your main storage on a Mac can be a game-changer if you need additional space. First, connect the drive to your Mac. Next, open “Finder” and navigate to your external drive. Right-click on your user folder (usually named after your username) and select “Get Info.” In the info window, click the lock icon and enter your Mac’s admin password. Now, click the gear icon and choose “Make [drive name] the home folder.” Restart your Mac. Your external drive is now your main storage. However, be cautious: If the drive disconnects, it can lead to issues. Always back up your data, as relying solely on an external drive carries risks.
How to Use External Hard Drive on MacBook Air?
Using an external hard drive on a MacBook Air is simple. Connect the drive to a USB or Thunderbolt port on your MacBook Air. The drive should appear on your desktop or in the Finder sidebar. To access it, simply click the drive’s icon. You can now copy, move, and organize files as needed. Remember to safely eject the drive when you’re done by right-clicking on its icon and selecting “Eject.” This prevents data corruption. Whether you’re expanding storage or backing up important files, external hard drives are a convenient and portable solution for MacBook Air users.
How to Make External Hard Drive Compatible With Mac Without Losing Data?
Making an external hard drive compatible with a Mac without data loss involves reformatting it to a macOS-compatible file system like APFS or Mac OS Extended (Journaled). Connect the drive to your Mac and open “Disk Utility.” Select the external drive and click “Erase.” Choose the desired format (APFS for macOS 10.13 and later, or Mac OS Extended for older macOS versions). Be aware that reformatting erases all data on the drive, so back up any important files before proceeding. After formatting, your drive will be compatible with your Mac, and you can transfer your backed-up data back onto it. Always double-check your backup before proceeding with reformatting.
How Do I Use SSD as Boot Drive and Hard Drive as Storage on Mac?
Using an SSD as the boot drive and a hard drive as storage on a Mac can optimize performance and storage capacity. First, ensure both drives are connected to your Mac. Install macOS on the SSD by booting from a macOS installation USB drive and selecting the SSD as the installation destination. Once macOS is installed, go to “System Preferences” > “Startup Disk” and choose the SSD as the boot drive. To use the hard drive for storage, simply copy or move files onto it as needed. You can also change the default storage location for certain apps, like iTunes or Photos, to the hard drive in their settings/preferences. This setup provides the speed benefits of an SSD for your operating system while maximizing storage space with the hard drive.
Conclusion
Opening an external hard drive on a Mac is a simple process that can be completed in just a few steps. By first ensuring that the hard drive is properly connected to the Mac, users can then navigate to the Finder and locate the drive in the sidebar. From there, they can easily access and transfer files between their computer and the external storage device. It is important to note that if any issues arise during this process, checking for software updates or seeking assistance from Apple support can help resolve them. With these steps in mind, users can confidently open and utilize their external hard drives on their Macs, expanding their storage capacity and improving their overall computing experience.